Docs > 👋 Getting Started
Getting Started with The Web Ability Widget
Welcome to our accessibility widget solution! This guide will walk you through the process of implementing our powerful webability widget on your website, boosting your conversions, and enhancing user experience.
Quick Start
- Sign up for an account
- Add a Domain
- Opt for a Free Trial or Skip Trial and Buy a Plan
- Install our webability widget
Detailed Steps
1. Sign Up for an Account
Visit our signup page to create your account. You'll need to provide:
- Your name
- Email address
- Password

2. Add a Domain
Once you have logged In you can start by adding a domain:
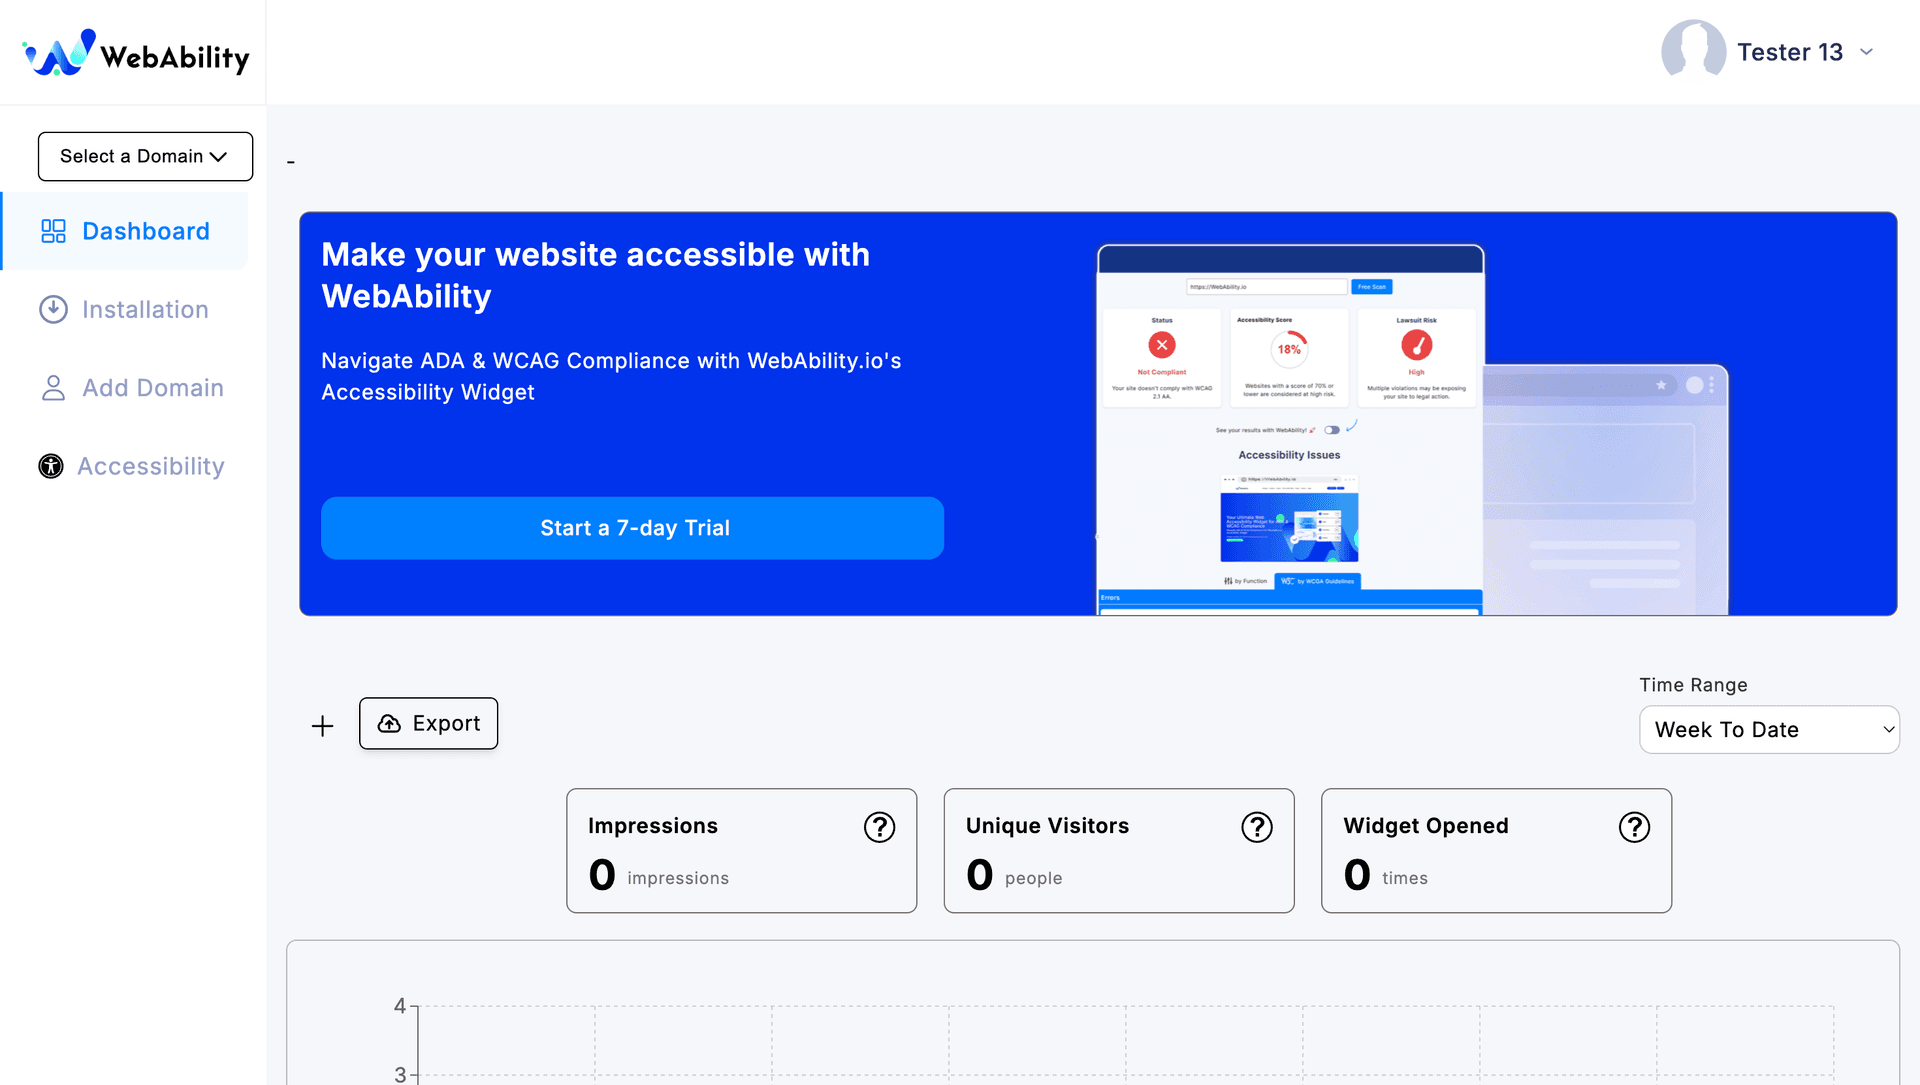
- Click on the Start a 7 Day Trial Button on the Dashboard or the Add a Domain page
- Type your Domain and Choose to get a Trial or Buy a Plan

3.Opt for a Free Trial or Skip Trial and Buy a Plan
If you choose to go for a Free Trial the Site is automatically activated for a 7-day Trial
If you choose to buy a plan, your Site is added and then you are given a chance to choose your desired plan
- Choose a plan and click on Checkout. Wait to be redirected to our payment portal
- Enter your payment Details to complete the purchase
- After you complete your purchase you will be redirected back to the site.
- Now you will see your activated domain. You can choose to add other domains to your bundle aswell.


4.Install our webability widget
Finally, you can add the web ability widget to your site by copying the code given on the installation page.
For more information on installation checkout our Guide: How to Pages
